Step-by-Step Guide on how to make a draped skirt or an overlap draped dress for a wedding or high-end fashion event.
What is Skirt Dress
Overlap draped skirts are a popular choice among fashion enthusiasts for their stylish, chic, and versatile design. With a flattering fit and flowing design, these skirts add elegance to any outfit. Creating your own overlap draped skirt can be a rewarding project that allows you to customize the fabric, length, and style to match your preferences. In this step-by-step guide, we will help you make a fashionable overlap draped skirt that will become a staple piece in your wardrobe.
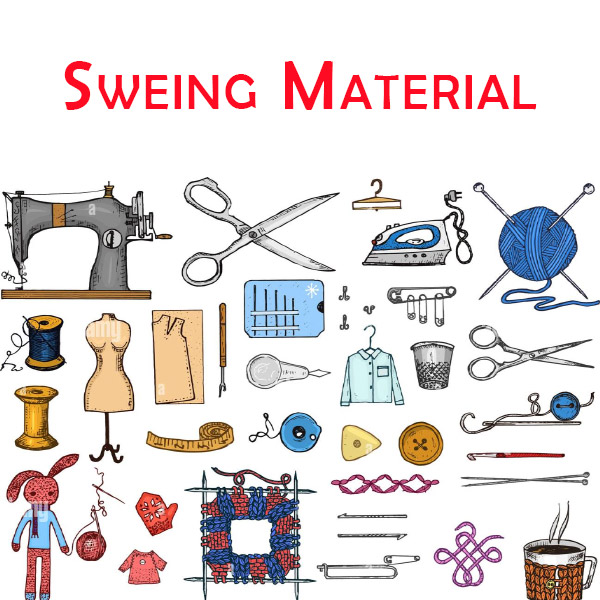
Things Need to Make Skirt Dress
Before start to sew a skirt dress, arrange the following things:
Fabric of your choice (lightweight, flowy fabrics work best, such as silk, chiffon, or rayon).
Matching thread.
Measuring tape.
Scissors.
Sewing machine.
Straight pins.
Iron and ironing board.
Elastic band (1-1.5 inches wide).
Safety pins.
Fabric chalk or tailor’s pencil.

Step 1: Take Measurements and Cut the Fabric
To make a skirt, first measure your waist and hips to determine the width of the fabric needed. Then, decide on the length of the skirt and add a few inches for seam allowances and hemming. With these measurements, cut out two rectangular fabric pieces with the appropriate dimensions.
Width: Waist measurement + 1 inch (for seam allowance) x 2
Length: Desired skirt length + 1 inch (for seam allowance) x 2
Step 2: Design the Fabric Panels
After cutting out the fabric pieces, it’s necessary to get them ready for sewing. First, put the two panels together with the right sides facing each other. Secure the sides and bottom edges with pins, but make sure to leave the top (waist) open.
Step 3: Sewing the Side Seams
Using a sewing machine, stitch along the pinned sides and bottom edges of the fabric panels. Use a straight stitch and maintain a ½-inch seam allowance. Backstitch at the beginning and end of each seam to secure the stitches.
Step 4: Hemming the Bottom Edge
To create a clean finish, hem the bottom edge of the skirt. Fold the edge up by about ½ inch, press it with an iron, and then fold it up again by another ½ inch. Pin the hem in place and sew it using a straight stitch.
Step 5: Creating the Overlap
To achieve the draped effect, we’ll create an overlap at the front of the skirt. To do this, determine how much overlap you want (usually around 6-8 inches). Measure this distance from the right side seam towards the center front of the skirt, and mark it with a pin or fabric chalk.
Next, fold the fabric panel along this pin, bringing the right side towards the inside of the skirt. The fold should be at an angle, creating a diagonal seam towards the center front. Pin the diagonal seam in place.
Step 6: Sewing the Overlap
Stitch along the pinned diagonal seam using a straight stitch. Start from the top edge (waist) and sew down towards the bottom edge, securing the overlap in place. Reinforce the top of the seam with a few backstitches for added strength.
Step 7: Installing the Elastic Waistband
Now it’s time to create the waistband. Measure your waist, and cut a piece of elastic band that matches this measurement. Make sure the elastic is comfortable but not too tight around your waist.
Overlap the top edges of the skirt panels, leaving enough space for the elastic band to pass through (approximately 1 inch). Pin the overlap in place.
Next, fold the top edge of the fabric down by about ½ inch and press it with an iron. Then fold it down again, leaving enough space for the elastic to pass through easily. Pin the fold in place, creating a casing for the elastic.
Starting from one side seam, sew along the pinned fold, leaving a small opening between the stitches to insert the elastic. Attach a safety pin to one end of the elastic and thread it through the casing until it comes out from the other side seam. Overlap the elastic ends and sew them together securely.
Finally, close the opening in the casing by sewing it shut.
Step 8: Final Adjustments
With the elastic waistband in place, try on the skirt to ensure a comfortable fit. If needed, make any adjustments to the length or the overlap.
Step 9: Finishing Touches
Once you’re satisfied with the fit, trim any excess threads, and press the skirt with an iron to give it a polished look.
Conclusion
Congratulations! You’ve successfully Sew a stylish overlap draped skirt that is both fashionable and comfortable to wear. By making this skirt yourself, you have the freedom to choose your favorite fabric and customize the design to match your unique style. Whether you wear it for a casual day out or a special occasion, this skirt will undoubtedly become a go-to piece in your wardrobe. Enjoy your new creation and continue exploring the world of sewing to unleash your creativity further.
Happy stitching!


